
Quick answer: A good quail brooder setup is a draft-free box with a secure mesh lid, about 6 chicks per square foot for the first two weeks, a heat source that gives about 95°F at chick level on one side and a cooler zone on the other, textured (not slick) flooring, feed scattered on a flat surface, and shallow waterers filled with marbles or pebbles. Turn it on 24 hours before the chicks arrive.
A quail brooder setup has to solve problems that a chicken brooder barely notices. Coturnix chicks are tiny, about 6–7 grams at hatch according to NSW Department of Primary Industries. They can drown in a standard waterer, squeeze through gaps, slip into splayed legs on smooth floors and fly up within days. This guide walks through building or buying a brooder, choosing a heat source, and setting up everything the day before the chicks arrive.
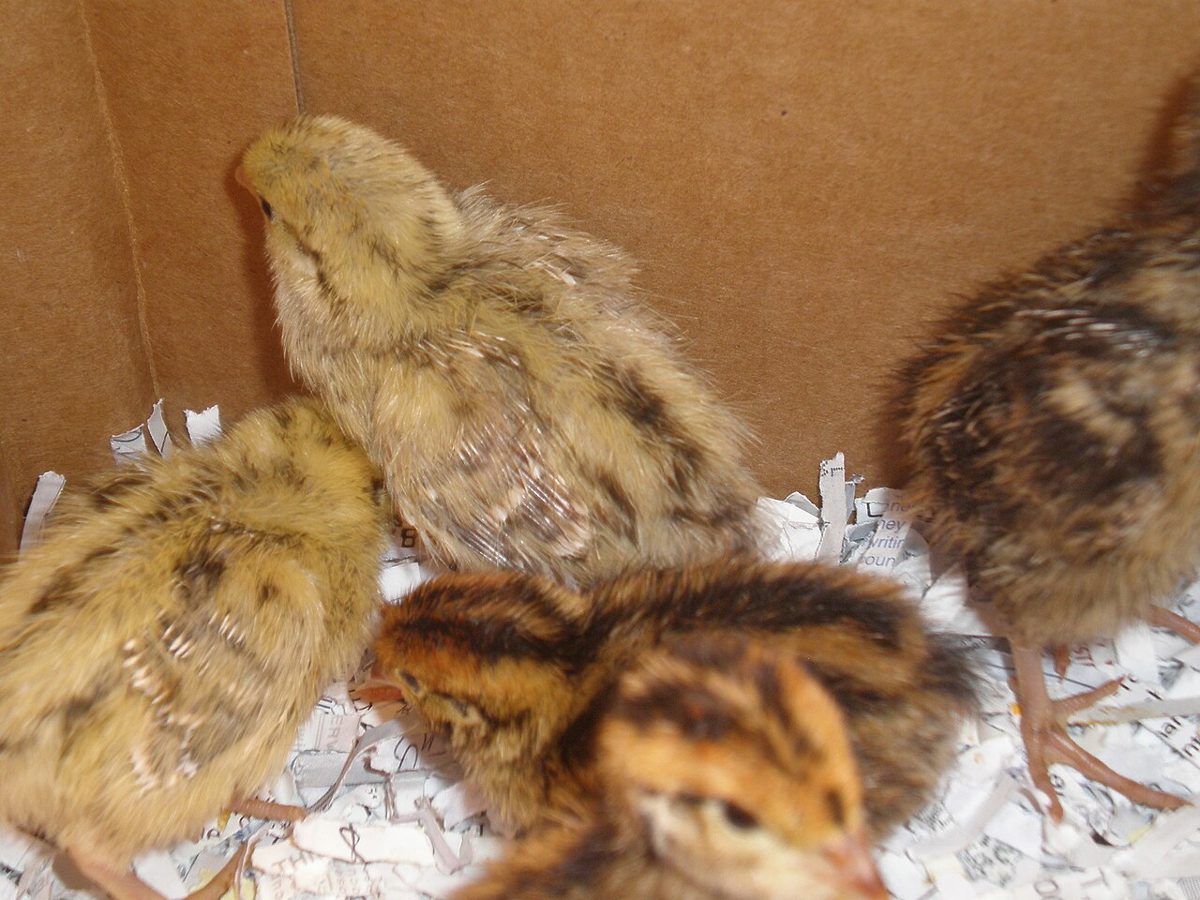

What you need
| Item | What works | Why it matters |
|---|---|---|
| Container | Plastic tote, stock tank, wooden box or a purpose-built brooder | Solid sides block drafts |
| Lid | Wire mesh with holes no bigger than about 1/4 inch | Chicks fly within days and fit through small gaps |
| Heat source | Heat plate, ceramic heat emitter or a secured heat lamp | Chicks cannot control body temperature at first |
| Thermometer | Digital, at chick level under the heat and in the cool zone | Displays and guesses are often wrong |
| Floor | Paper towel or textured shelf liner for week 1, then pine shavings | Prevents splayed legs and soaks up droppings |
| Waterer | Small chick waterer with marbles or pebbles in the trough | Prevents drowning |
| Feeder | Flat lid or tray for days 1–3, then a small chick feeder | Chicks must find feed fast |
| Light | Low light, red or dim at night | Helps chicks find feed while keeping pecking down |
Step 1: Choose the size
Chicks need little room at first and grow fast. Published numbers vary:
| Source | First 2 weeks | Weeks 2–6 |
|---|---|---|
| Texas A&M AgriLife Extension (meat coturnix) | Up to 6 chicks per sq ft | Up to 4 per sq ft, then 3 per sq ft after 6 weeks |
| Penn State Extension (bobwhite, wire-floor colony cages) | 4 per sq ft in week 1 | 3 per sq ft from 2 to 6 weeks |
| Hoover’s Hatchery (coturnix care guide) | About 0.75 sq ft per bird | 1–2 sq ft per bird with run space |
Texas A&M’s figure is a maximum. For a home brooder, plan the floor for the number of chicks at 2–3 weeks old, not at hatch, and add space or move chicks on before they are crowded. As a rule of thumb from those numbers:
| Chicks | Floor area at 6 per sq ft | Floor area at 4 per sq ft (to about 6 weeks) |
|---|---|---|
| 12 | 2 sq ft | 3 sq ft |
| 25 | About 4.2 sq ft | About 6.3 sq ft |
| 50 | About 8.3 sq ft | About 12.5 sq ft |
A large storage tote with a floor of about 30 by 20 inches gives about 4 square feet, enough for roughly 20–24 chicks for the first two weeks at Texas A&M’s maximum. Measure the floor of yours, not the lid; most totes taper.
Step 2: Make it escape-proof and draft-free
- Lid. Virginia Tech Extension’s 4-H guide says to always cover a quail brooding area because chicks can fly once they are a few days old. Use hardware cloth or similar mesh. Penn State Extension used 1/4-inch mesh flooring for young quail, and NSW DPI recommends 7 mm (about 1/4 inch) mesh for cages so chicks cannot escape through the sides.
- No gaps. Extension notes that young quail can fit through very small spaces. Check corners, cord holes and lid edges.
- Round the corners. Extension and Penn State both recommend rounding corners with cardboard or wire so frightened chicks do not pile up and smother each other. A brooder guard (a ring of cardboard) does the same job in a large pen; Extension says to remove it once chicks start flying so none get stranded on the wrong side.
- Solid sides. Mississippi State University Extension recommends a solid brooder guard about 18 inches high to stop floor drafts.
Step 3: Pick a heat source
| Heat source | Pros | Cons | Notes and setup |
|---|---|---|---|
| Heat plate (radiant brooder plate) | Low power; chicks choose how close to get; runs far cooler than a bulb | Must sit low enough for tiny quail; follow the maker’s height guide | Many keepers lower it until chicks can just touch the underside when standing |
| Ceramic heat emitter | No light, steady heat | Gets very hot; needs a porcelain fixture and a thermostat | Mount securely above the chicks |
| Infrared heat lamp | Cheap and familiar | Fire risk; harder to fine-tune; bright light | Texas A&M used three 125-watt lamps 18–20 inches above the floor for 250 chicks |
| Room heat | Simple for large batches | Hard to keep a warm and cool zone | Penn State suggests about 88°F room with about 95°F under the heat source for bobwhite |
Whatever you pick, set it up for spot brooding: warm on one side, cooler on the other. Mississippi State Extension explains that chicks then find their own comfort zone by moving between the two.
Heat lamp safety
Heat lamps are a well-known fire risk in coops and barns. If you use one:
- Texas A&M AgriLife Extension says to secure lamps so they cannot fall and create a fire hazard.
- Ohio State University’s Agricultural Safety and Health Program recommends a lamp with a guard, quality bulbs no larger than 250 watts, a chain or proper clamp, and about 20 inches between the lamp and the ground or animals. It also advises never laying a heat lamp on a flammable surface.
- The National Fire Protection Association advises keeping heat lamps away from anything that can burn and not using extension cords in a coop.
Step 4: Set the temperature
Mississippi State Extension recommends 90–95°F at the edge of the heat source, measured about 1 inch above the litter, for the first week, then about 5°F less each week. Texas A&M gives 95–97°F at chick level in the first week, lowering 5°F a week to 75°F once chicks are fully feathered. NSW DPI gives about 35°C (95°F) in the first week, dropping about 3.5°C (about 6°F) a week until chicks are feathered at 3–4 weeks.
| Week | Temperature under the heat, at chick level |
|---|---|
| 1 | 95°F |
| 2 | 90°F |
| 3 | 85°F |
| 4 | 80°F |
| 5 | 75°F, or off if the room is warm |
| 6 | 70°F or no extra heat |
Thermometers help, but chick behavior is the real test. Mississippi State says chicks spread evenly and peeping contentedly are comfortable; chicks huddled under the heat and chirping sharply are cold; chicks that move away from the heat, pant and look drowsy are too hot. Texas A&M adds that a thermometer may not read infrared heat accurately. Our quail chick care guide has the full week-by-week plan, and quail brooder temperature by week goes deeper on the chart.
Step 5: Lay the floor
Smooth, slippery floors cause splayed legs. NSW DPI recommends covering litter with paper for the first week, using soft, rough paper, because chicks tend to spraddle on hard, smooth paper; it says paper towel is better than newspaper. Texas A&M warns never to put chicks on a slick surface such as cardboard, plastic or newspaper, and suggests 2–4 inches of wood shavings or rice hulls. ICAR-CCARI recommends corrugated paper for better footing.
A practical approach is paper towel or textured rubber shelf liner over a thin layer of shavings for the first few days, so chicks can find feed scattered on top, then plain pine shavings once they are eating well. If a chick does splay, see splayed leg in quail chicks.

Step 6: Water that cannot drown them
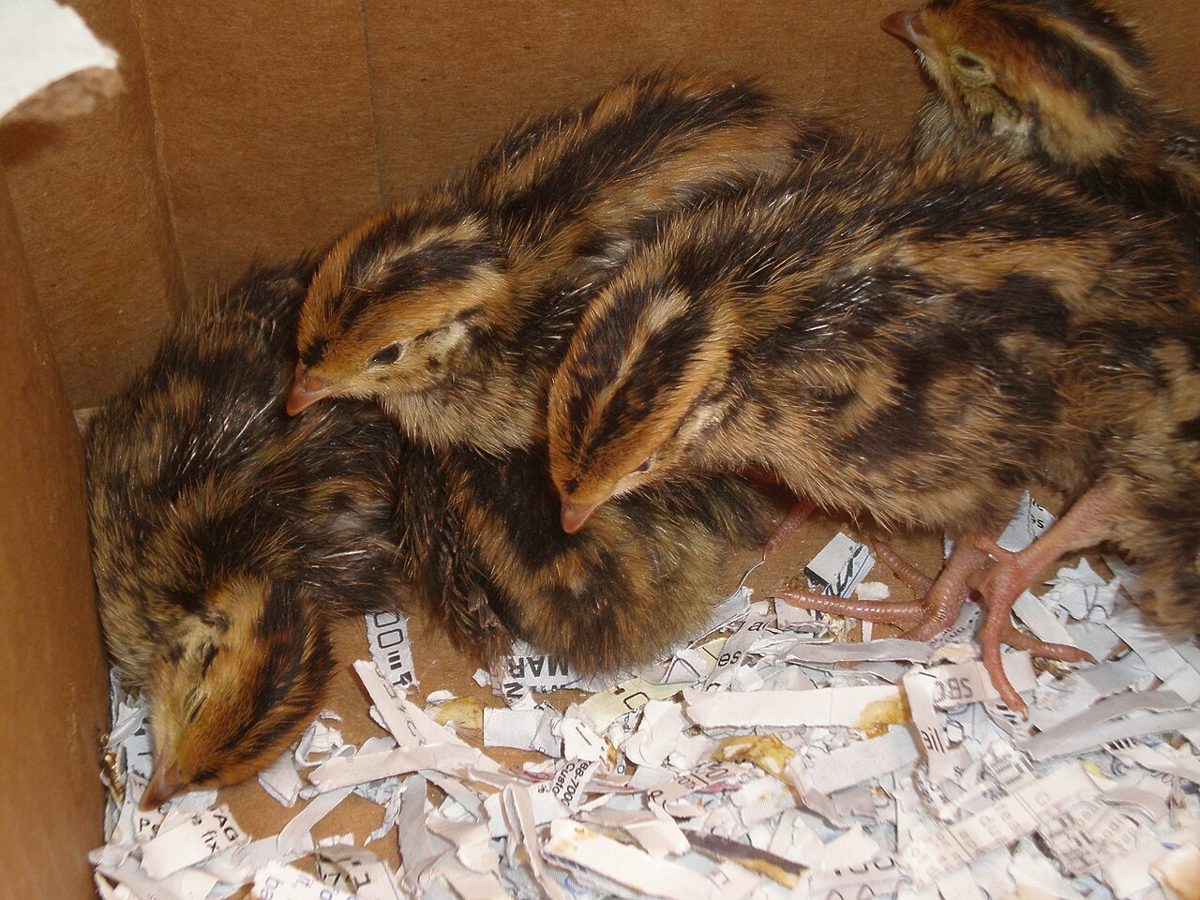
Every source agrees on this one. Extension says young quail tend to drown in shallow water and recommends a screen or small marbles in the water trays for the first week or two. NSW DPI says the pebbles can come out at about 1 week, while Virginia Tech says after the second week. Texas A&M says one 1-gallon waterer per 100 chicks is usually enough through 2 weeks of age.
- Use the smallest chick waterer base you can find.
- Fill the trough with clean marbles or pebbles so chicks can sip but not climb in.
- Dip each chick’s beak in the water as you put it in the brooder, as Hoover’s Hatchery recommends.
- Set the waterer away from the hottest spot so it stays cool and the litter stays dry.
- Clean it daily (NSW DPI).
Step 7: Feed they can find
Chicks need to find feed in the first hours. NSW DPI says to cover the papered floor with feed and fill troughs to overflowing at first. Texas A&M recommends grinding starter to a uniform “cornmeal” consistency for the first week, piling it on cookie sheets, pans or shallow box lids. Mississippi State uses feeder lids or egg flats.
Use a game bird or turkey starter. Texas A&M recommends 26–30% protein for the first 6 weeks. Our guides to what quail eat and whether quail can eat chicken feed explain why chicken starter is a weaker choice.
Step 8: Light
Texas A&M recommends a bright light for the first 3 days so chicks find feed and water, then low-intensity light to reduce pecking. Hoover’s Hatchery suggests 24 hours of light on day 1, dropping an hour a day to 18 hours by the end of week 1. A red bulb or dim light at night is gentler than bright white light.
The day-before checklist
- Clean and disinfect the brooder and equipment. Texas A&M says to do this well ahead and to have everything ready at least 2 days before chicks arrive.
- Turn on the heat 24 hours early. Mississippi State and Hoover’s both recommend preheating so you can check the temperature and adjust.
- Check the temperature at chick level under the heat and in the cool zone.
- Lay the floor and scatter feed on paper or a flat lid.
- Fill waterers with marbles in place, and let the water warm to room temperature.
- Fit and test the lid.
- Plan where the brooder sits: away from pets, drafts and direct sun, with a safe outlet and no extension cord across the floor.
Chicks moving straight from the incubator should be dry and fluffed first; see quail incubation temperature and humidity for hatch timing.
Troubleshooting
| Problem | Likely cause | Fix |
|---|---|---|
| Chicks piled under the heat, shrill peeping | Too cold or drafty | Lower the heat a little; block drafts |
| Chicks pressed against the far wall, panting | Too hot | Raise the heat source; enlarge the cool zone |
| Chicks bunched on one side away from one direction | Draft | Find and block it |
| Chicks wet, chilled or found in the water | Waterer too deep | Add marbles or pebbles; smaller waterer |
| Legs splaying sideways | Slippery floor | Paper towel or shelf liner; splint early |
| Thin chicks that never seem to eat | Feed too coarse or hard to find | Grind finer; scatter on a flat lid |
| Toe or head pecking | Crowding, boredom, bright light, too hot | More space, dim or red light, check temperature |
| Missing chicks | Gap or loose lid | Close every gap; check the lid |
Frequently asked questions
How big should a quail brooder be?
Plan for no more than about 6 chicks per square foot for the first two weeks and about 4 per square foot from 2 to 6 weeks. A large tote with a floor of about 30 by 20 inches holds roughly 20 chicks for the first two weeks.
What temperature should a quail brooder be?
About 95°F at chick level under the heat for the first week, then about 5°F less each week, with a cooler zone the chicks can move to. Watch the chicks and adjust.
Is a heat plate or heat lamp better for quail?
Both can work. A heat plate uses less power and has a much lower fire risk, but it must sit low enough for tiny quail. A heat lamp is cheap but must be firmly secured and kept away from bedding.
How long do quail chicks need a brooder?
Usually about 4–6 weeks, until they are fully feathered. NSW DPI says chicks need extra heat for about 3–4 weeks; in a cold garage or in winter, plan on longer.
When can I take the marbles out of the waterer?
At about 1–2 weeks. NSW DPI says 1 week; Virginia Tech says after the second week. Wait until chicks are clearly bigger and steady on their feet.
Sources
- Randall, M. and Bolla, G. Raising Japanese Quail. NSW Department of Primary Industries Primefact, republished by The Poultry Site.
- Thornberry, F. D. Producing Quail for Home Consumption (L-5215). Texas A&M AgriLife Extension.
- Smith, T. W. Brooding Chickens and Quail (Information Sheet 1338). Mississippi State University Extension.
- Penn State Extension. Bobwhite Quail Production, via the Agricultural Marketing Resource Center.
- Jacob, J. and McCrea, B. Raising Japanese Quail in Small and Backyard Flocks. Cooperative Extension.
- Virginia Cooperative Extension. Beginning of Life (4-H 408-029).
- ICAR-Central Coastal Agricultural Research Institute. Japanese Quail.
- Hoover’s Hatchery. Quail Care Guide.
- Ohio State University Agricultural Safety and Health Program. Using Heat Lamps: Proceed with Caution!
- National Fire Protection Association. Chicken Coop Safety Tips.